
워드프레스 관리자 등록할 때 이메일을 등록해도 인증메일이 오질 않습니다. 아직 SMTP(Simple Mail Transfer Protocol) 설정을 하지 않아서 그렇습니다.
아마존 SES(simple email service) 활용
아마존에서는 이메일 서비스를 사용할 수 있습니다. 조금 설정이 까다로울 수 있는데요. 한번 설정하면 수정할 일은 없습니다. 그리고 메일을 많이 보내지 않는다면 무료로 사용가능합니다.
아마존 SES url : https://ap-northeast-2.console.aws.amazon.com/ses/home?region=ap-northeast-2#/account
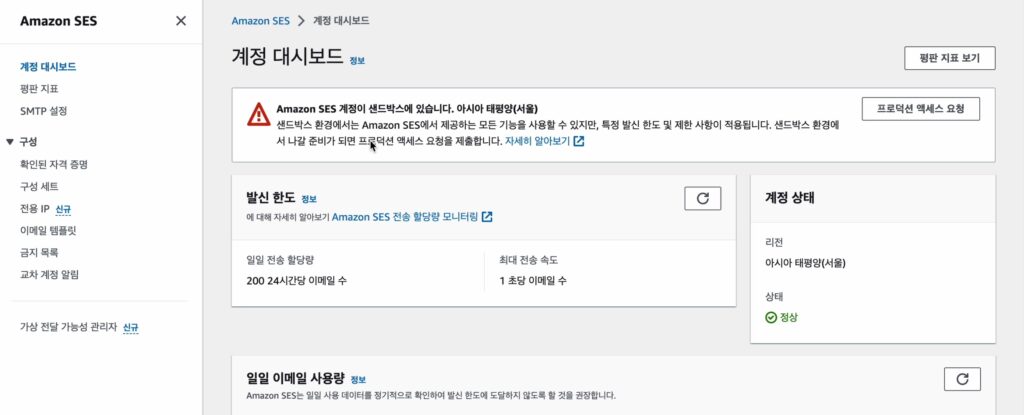
SMTP 설정을 시작해볼까요.
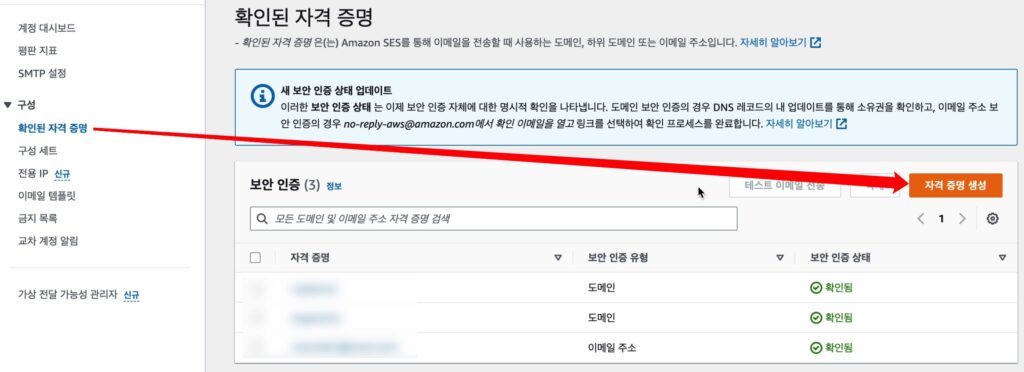
자격 증명을 생성합니다.
도메인 하나, 이메일 하나 이렇게 생성하세요.
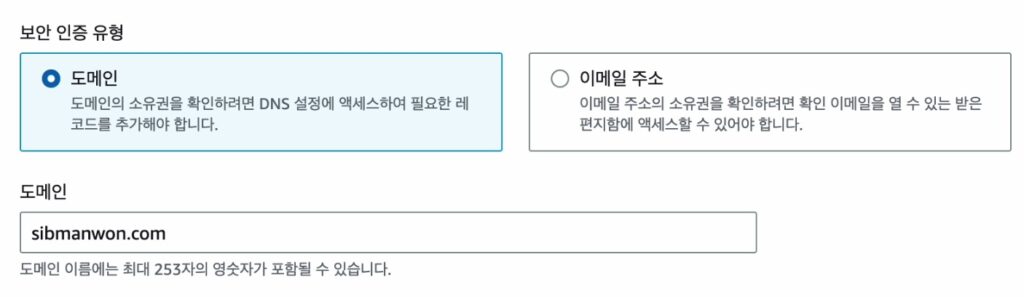
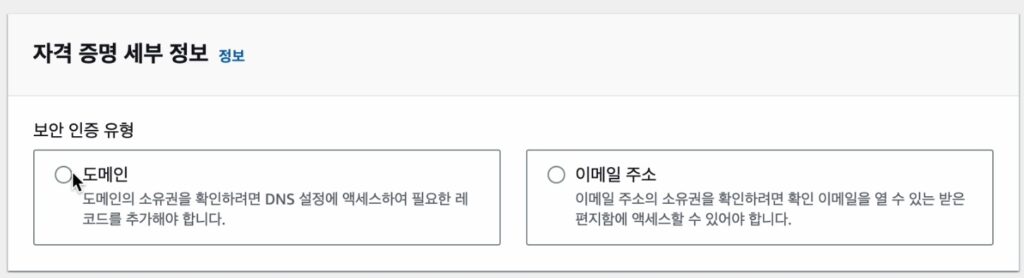
도메인 체크하시고 내 도메인 명을 입력하고 자격증명 생성을 클릭합니다. 옵션이 여러가지가 있는데 따로 건드릴건 없습니다.
이메일도 또한 생성하세요. 저는 등록된 이메일이 있어서 생성 안했습니다.
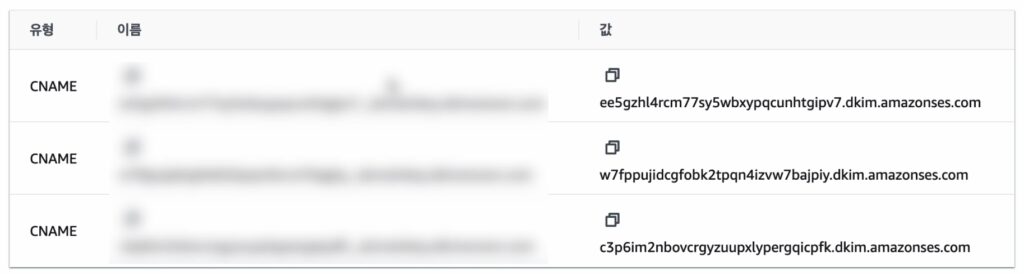
자격 증명이 생성되고 CNAME 레코드 3개 주어집니다. 이제 아마존 라이트세일로 이동합니다.
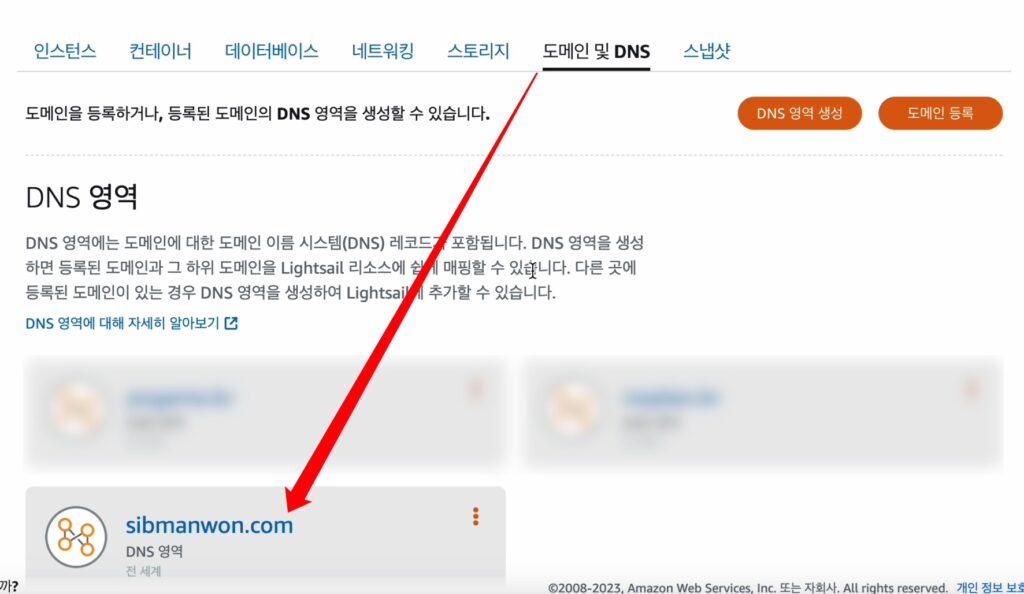
로그인 후 도메인 및 DNS로 이동하셔서
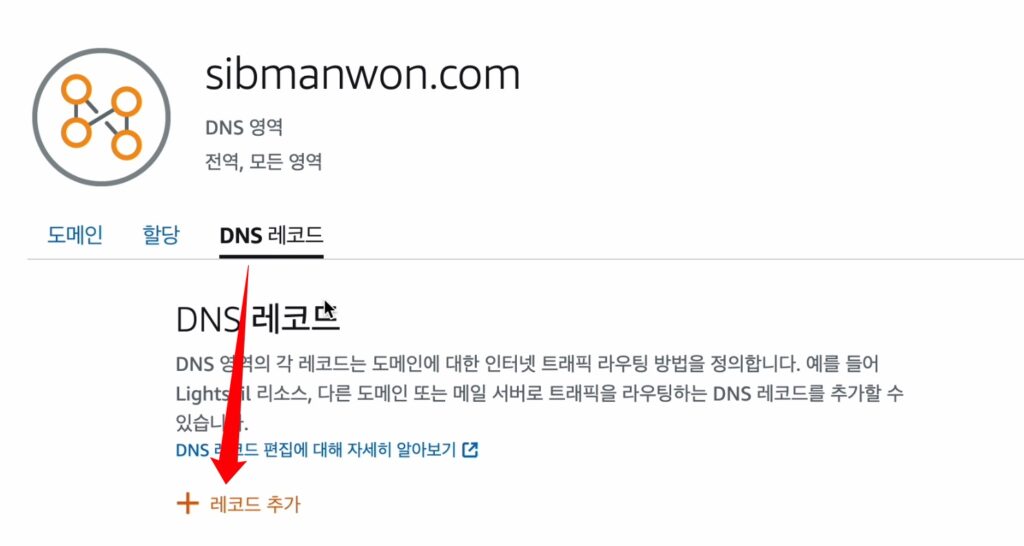
DNS레코드로 이동하면 레코드를 추가할 수 있습니다. 위에 할당받은 CNAME 레코드 3개를 입력합니다.
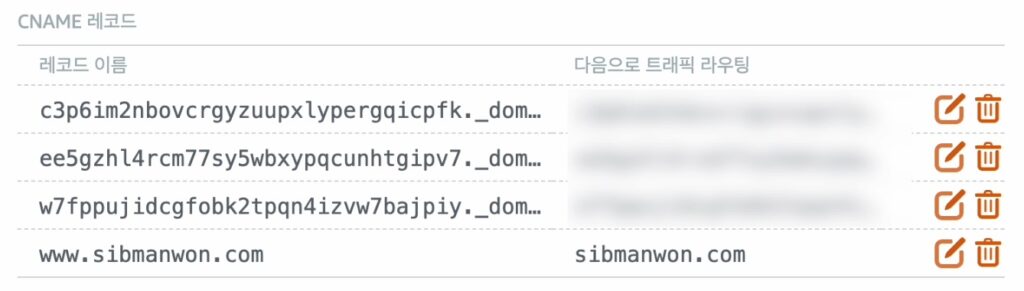
입력을 모두 마친 모습입니다.
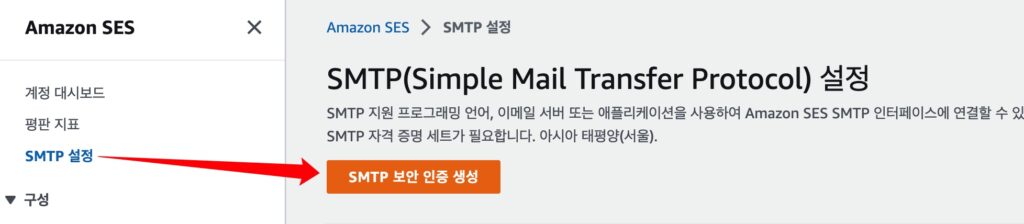
다시 아마존 SES로 돌아와서 SMTP 보안 인증 생성 클릭합니다.
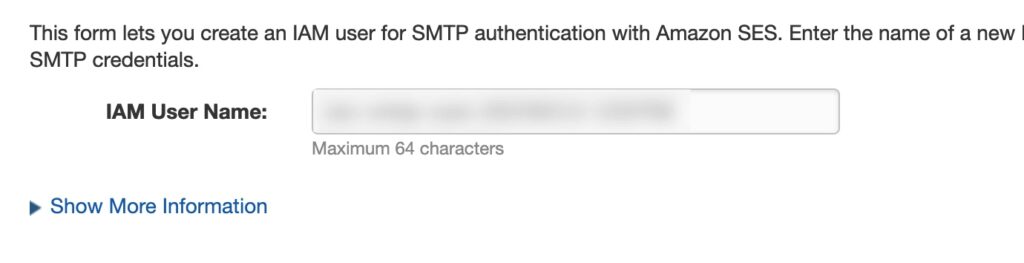
IAM을 생성합니다.
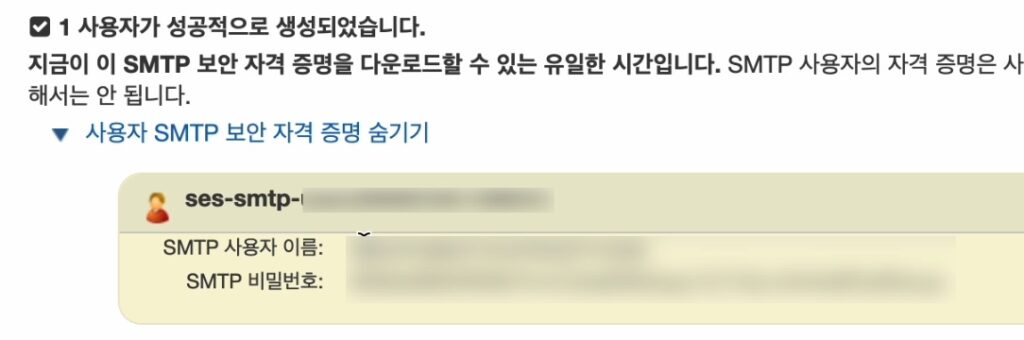
사용자이름 및 비밀번호를 워드프레스 WP Mail SMTP 플러그인에 입력해야하니 복사해서 가지고 있으세요.
WP Mail SMTP 플러그인 설정
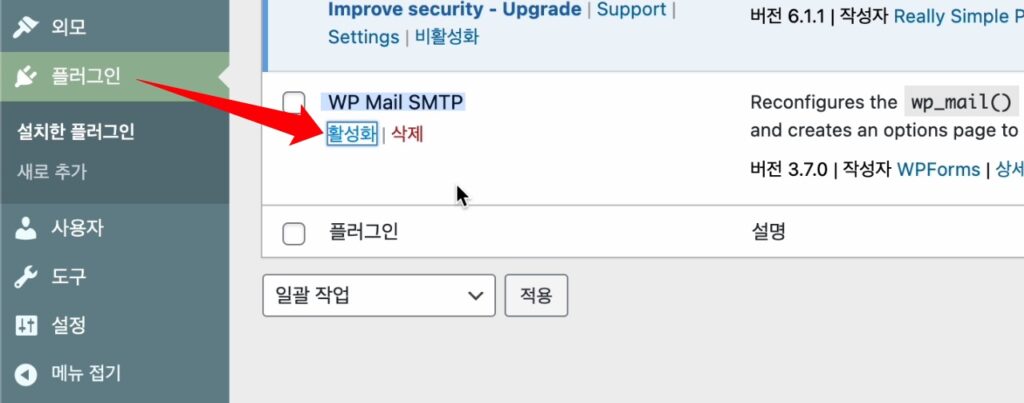
워드프레스 관리자페이지에 로그인합니다. 플러그인에서 WP Mail SMTP를 활성화합니다. 만약 설치되어 있지 않다면 설치하세요.
활성화하면 이제 초기 설정을 진행합니다. 메일서버는 Other SMTP로 설정하세요. 아마존SES도 지원하지만 유료입니다.
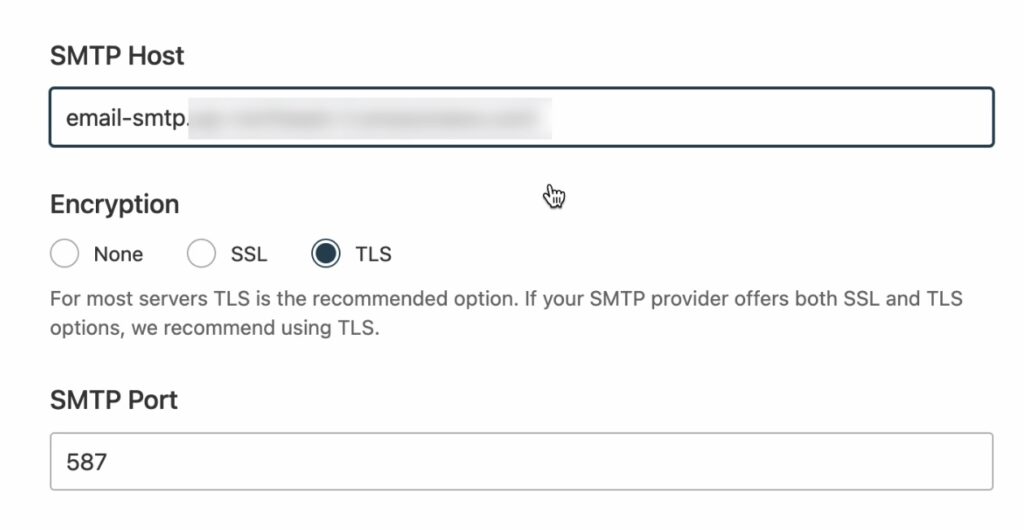
- SMTP Host : 아마존SES > SMTP설정 > SMTP 엔드포인트
- Encryption : TLS
- SMTP Port: 587
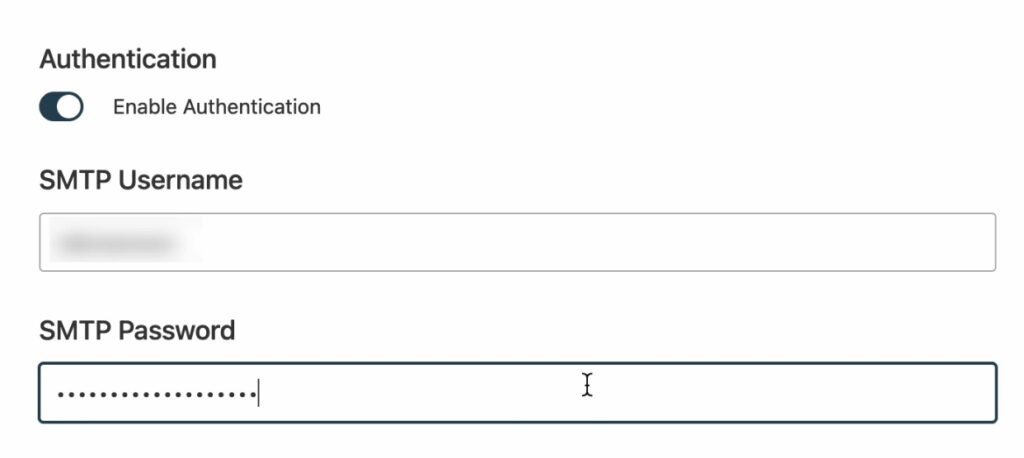
아마존 SES에서 생성한 IAM 아이디/패스워드 를 입력합니다.
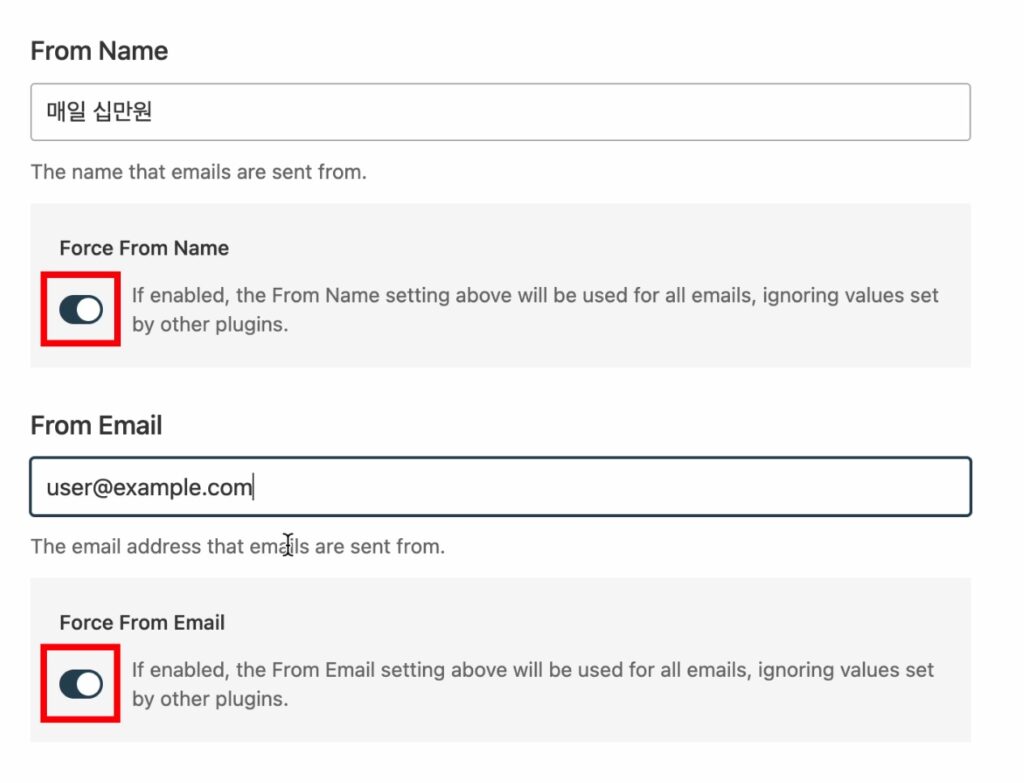
Force From Name, Force From Email 활성화하면 해당 이름과 이메일로 메일을 보냅니다. 이메일에는 아마존 SES에서 등록한 이메일을 입력합니다.
설정을 다 하셨다면 이제 테스트 이메일을 하나 보내볼까요.
테스트 이메일 보내기
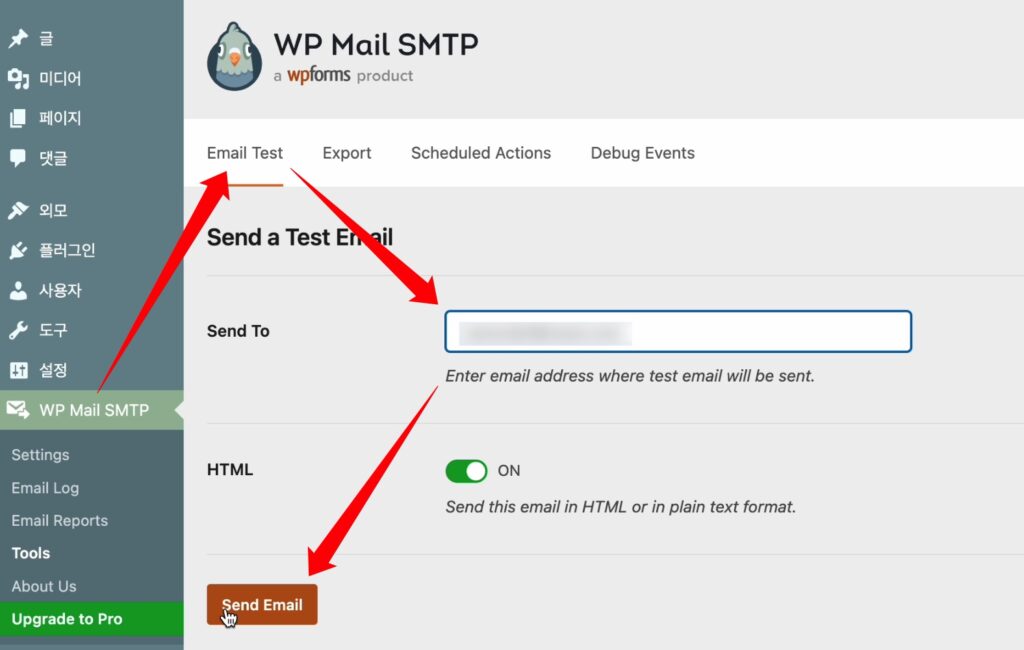
아마존 SES에 등록한 이메일로 테스트 이메일을 보냅니다. 아무데로나 막 보내는게 아닙니다. 아마존 SES에 등록한 이메일로만 테스트합니다.
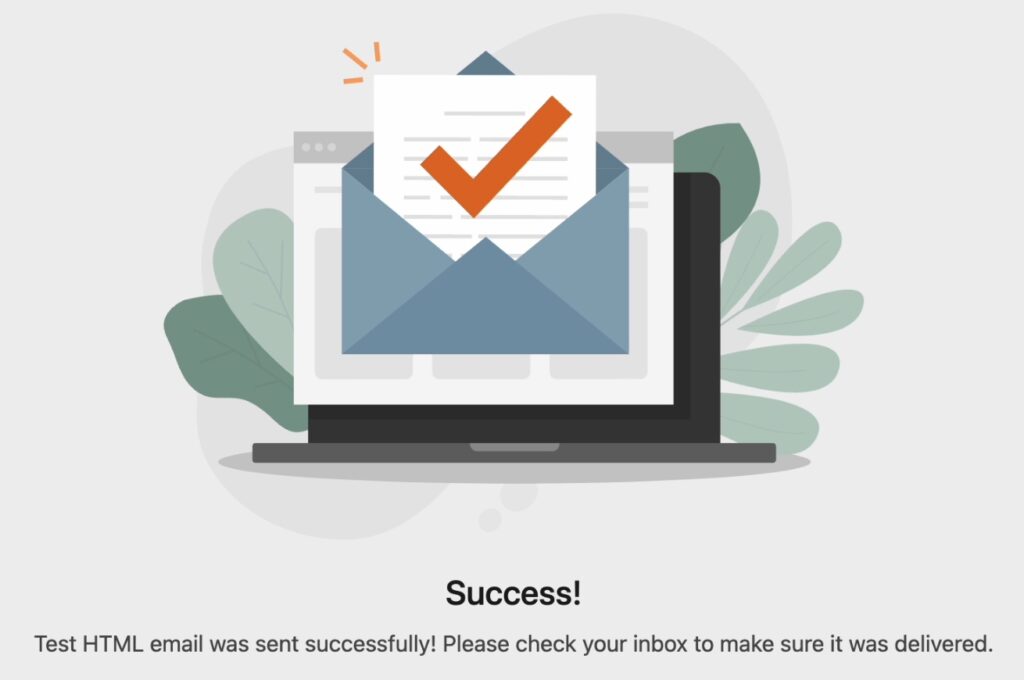
정상적으로 발송되었습니다. 해당 이메일에 로그인해서 메일함을 열어보면 테스트 이메일이 도착한 모습을 볼 수 있을겁니다.
그럼 이제 관리자 이메일을 변경할까요?
워드프레스 관리자 이메일 변경

관리자 이메일을 변경하고 싶어도 인증메일이 날라오지 않아 답답하셨죠. 이제 변경가능합니다. 아마존 SES 에 등록한 이메일을 넣고 저장합니다.
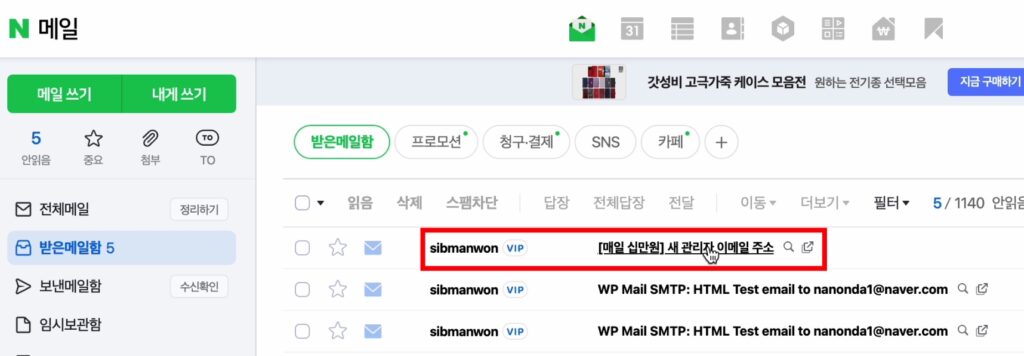
이제 해당 이메일에 로그인을 하면 짜잔~~ 메일이 와 있습니다.
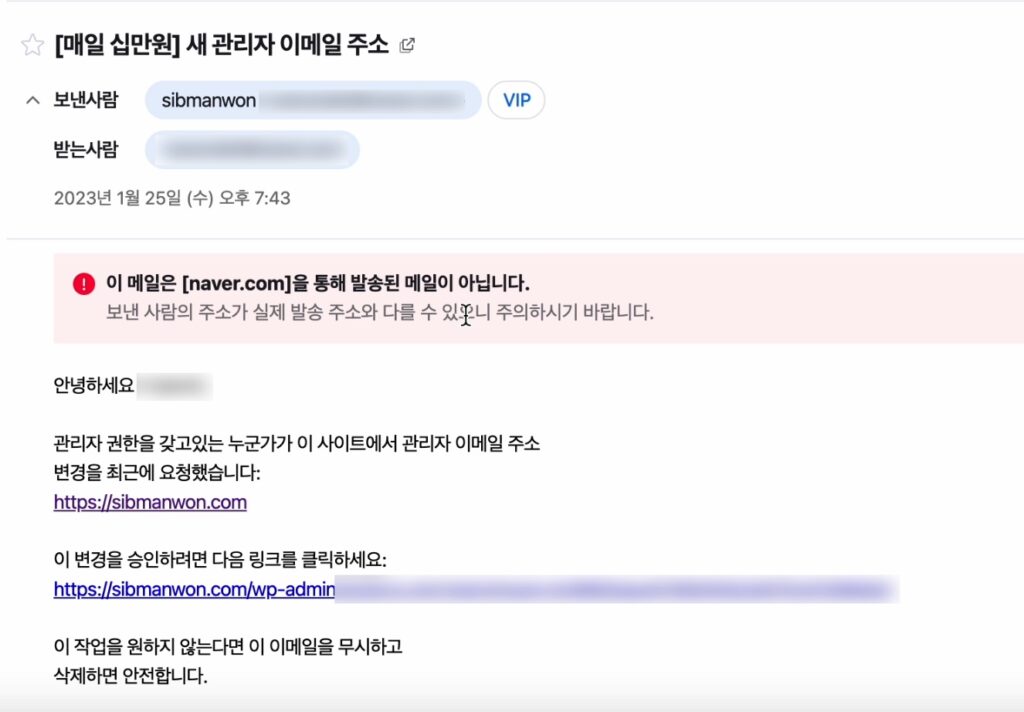
링크를 클릭하여 변경 승인을 하고 워드프레스의 이메일을 변경합니다.
SMTP가 등록되었으니 내 워드프레스 플러그인 업데이트라던지, 서버가 다운되거나 하는 이벤트가 발생하면 이메일로 알려줍니다. 끝!